
Before you know it, macOS 10.14 “Mojave” will be available and you may want to install it on your Mac. I’ve been testing Mojave on my MacBook Pro with Touch Bar for about a month, and it’s not only stable, but I’m already using some of the new features to increase my productivity. Today I’ll give you a look at Finder Quick Actions in Mojave, which provides a new way to quickly edit files without needing to launch an app to do so.
Enabling Quick Actions
Enabling Quick Actions is — as you’d expect from an Apple product — very easy to do. Open a Finder window, then select View > Show Preview from the menu bar or use the keyboard shortcut Shift-Command-P. Prior to Mojave, the Preview view in Finder showed a sidebar with a small preview of a file along with size, creation date, modification date, last opened date, and a tool for adding tags.
Mojave adds Quick Actions to the Preview in the sidebar on the right side of the window. These actions are different depending on the file and the app used to edit it.

Quick Actions for Images
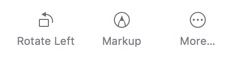
When using Quick Actions, there’s no longer a need to launch Preview or other image-editing apps to perform common tasks. Select a standard image file type (.png, .jpg, etc.) and the Quick Actions are Rotate Left 90°, Markup and More…
As you’d expect, Rotate Left flips the image 90° counterclockwise, Markup displays a new Quick Look window with a wide variety of markup tools (see screenshot below), and More shows a list of other actions — including custom Quick Actions that you can create.

One very cool feature is the ability to create a PDF with multiple images in it — for example, let’s say you have a bunch of photos and want to create a “contact sheet” for a client. Just select those images and the Markup button changes to a Create PDF button that saves all of those photos into a single PDF document.
Quick Actions for Video and Audio Files
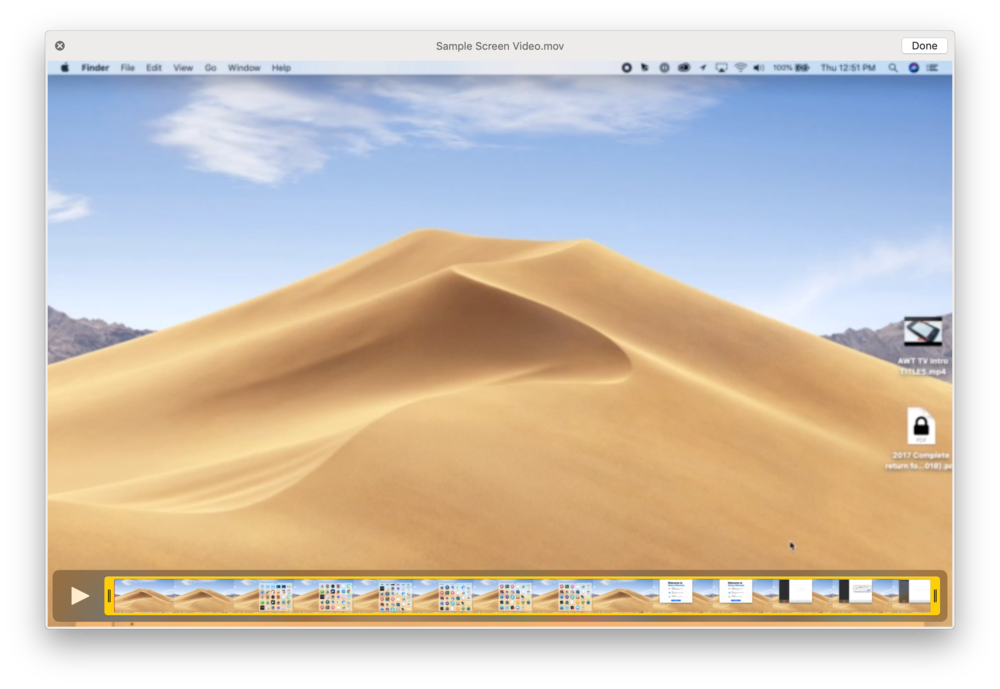
Like I mentioned earlier, Quick Actions change based on the type of a file. Selecting a video or audio file in the Finder displays Trim rather than Markup. Click Trim, and a new Quick Look window appears with a trimming ribbon along the bottom of the video or audio (see below):
Creating Custom Quick Actions
What do you get when you add Quick Actions and macOS Automator? Custom Quick Actions, which are a very powerful tool in macOS Mojave. In this example, I’ll make a Quick Action to resize any image to a width of 1000 pixels. If you’re running Mojave beta, follow along:
1 – Launch Automator from the Applications folder
2 – Click New Document
3 – Select Quick Action. It’s a new option in Automator to create workflows that work in the Finder Preview pane, the Service menu, and also on the MacBook Pro Touch Bar.

4 – Select Photos and the Scale Images action from the library of Actions on the left side of the Automator window. A dialog appears that states “This action will change the image files passed into it. Would you like to add a Copy Finder Items action so that the copies are changed and your originals are preserved?” If you wish to keep your original images from being resized, click the Add button.
5 – We don’t want the scaled images to clutter the Mac desktop, so click the To: drop-down menu and select Downloads, which places the copied images into the Downloads folder.
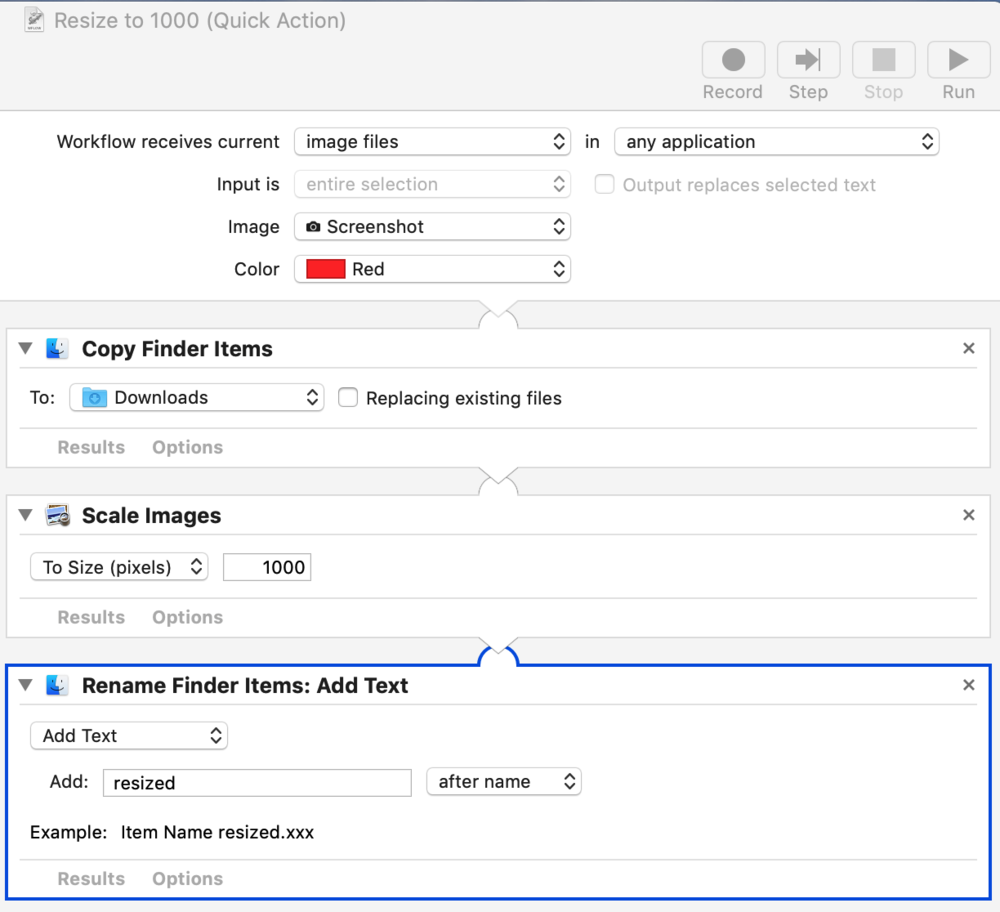
6 – Under Scale Images, select To Size (pixels) and type in 1000 as the number.
7 – Select Files & Folders > Rename Finder Items from the Actions list. Once again, you’ll see that dialog asking if you wish to add a Copy Finder Items action. Ignore it, since we already did that (or decided not to) in step 4.
8 – We want to add some text to the file name to show that it was resized. Select Add Text from the Rename Finder Items drop-down menu, then type ” resized” without the quotes into the Add field. This has the effect of changing “Image092.png” to “Image092 resized.png” and so on.
9 – This Quick Action only works with image files, so at the top of the automation, select “Image files” in Finder from the “Service receives selected…” picker. You can also choose an icon to represent your icon; in this example, I selected the screenshot icon that looks like a camera.
10 – Now let’s save the action. Select File > Save… and give the action a name like “Resize to 1000”. Here’s what the Automator window should look like with our image resizing Quick Action:
Now right-clicking an image displays a menu with one of the bottom items on that menu (where Services were listed in previous versions of macOS) being “Resize to 1000”. Oddly enough — and this may change before macOS Mojave ships — it doesn’t show the Quick Action as being one of our choices. Instead, it appears under the “More” button. To add “Resize to 1000” to the list of Quick Actions:
1 – Launch System Preferences from the Dock or > System Preferences
2 – Click on Extensions
3 – Click “Finder” and verify that “Resize to 1000” is enabled (the checkbox is checked)
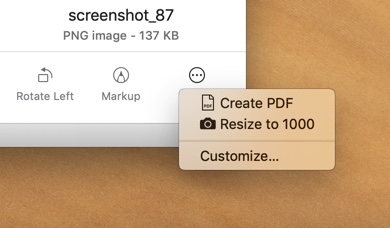
Now clicking the More…button displays our “Resize to 1000” Quick Action (see screenshot below).
Quick Actions in macOS Mojave and the new Siri shortcuts in iOS 12 are going to give Apple fans a lot more power and customization of their devices.