
You can use the Home app on your iPhone, iPad or Mac to update the software on your HomePod though you may not have to. By default, HomePod automatically installs new software updates, but you can manually check for updates in the Home app. Here’s how:
On your iOS device, open the Home app. Make sure that your iOS device is signed in with the Apple ID that you used to set up HomePod.
In the upper-left corner, tap the upward pointing arrow icon.
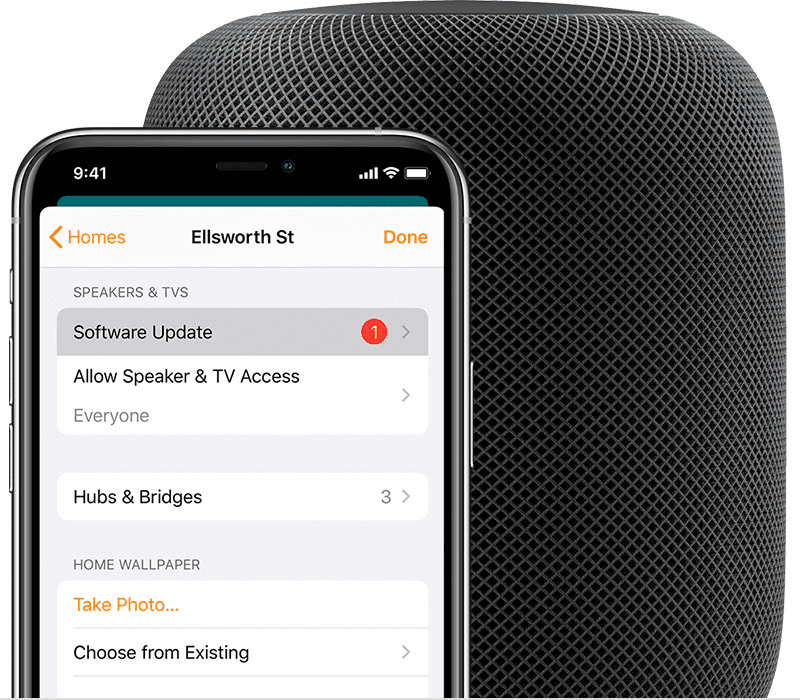
Tap Software Update.
If there’s a new update, tap Install. This will install the update on all of your HomePod speakers you have set up in your home.
To turn automatic updates on or off or check the software version, open the Home app, tap the upward pointing arrow icon, then tap Software Update.
If you have multiple homes set up in the Home app, open the Home app, tap the upward pointing arrow icon, tap Home Settings, then tap a home to check for updates.
On your Mac, make sure the Mac is running macOS Mojave or later.
Open the Home app. In the menu bar, choose Edit > Edit Home.
Click Software Update.
If there’s a new update, click Install. This will install the update on all of your HomePod speakers you have set up in your home.
A white spinning light appears on the top of HomePod while it’s updating. The update might take some time. Don’t unplug HomePod until the update is complete.
(This how-to is based on my experiences and info on Apple’s support pages — where the images sometimes come from.)


