
Today we’re taking a look at a smart earbud that is designed to enhance sound. Let’s say you’re often left out of conversations in noisy restaurants, or you find yourself straining to understand what someone is saying while watching TV. The Olive Smart Ear from Olive Union (US$299) is designed as a single earbud that is calibrated to your current hearing, then enhances ambient sound for more clarity.
Right off the bat, let’s get one thing straight: the Olive Smart Ear from Olive Union is not a hearing aid, nor is it made to replace one (or two). I wear a pair of hearing aids, so I’m used to what those devices can do for someone with moderate hearing loss. If your hearing loss is in both ears and moderate to severe in intensity, then the Smart Ear is not for you.
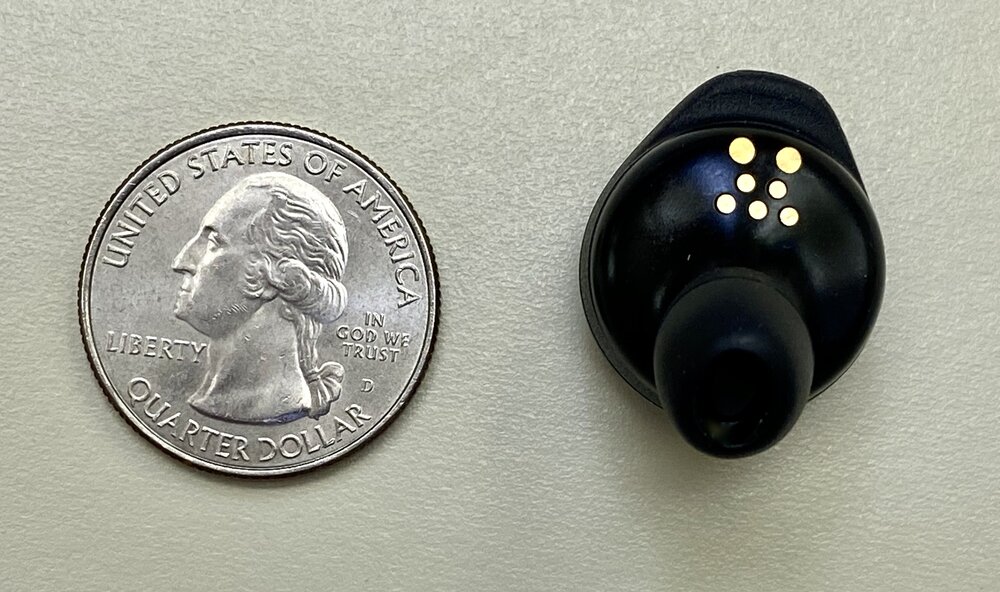
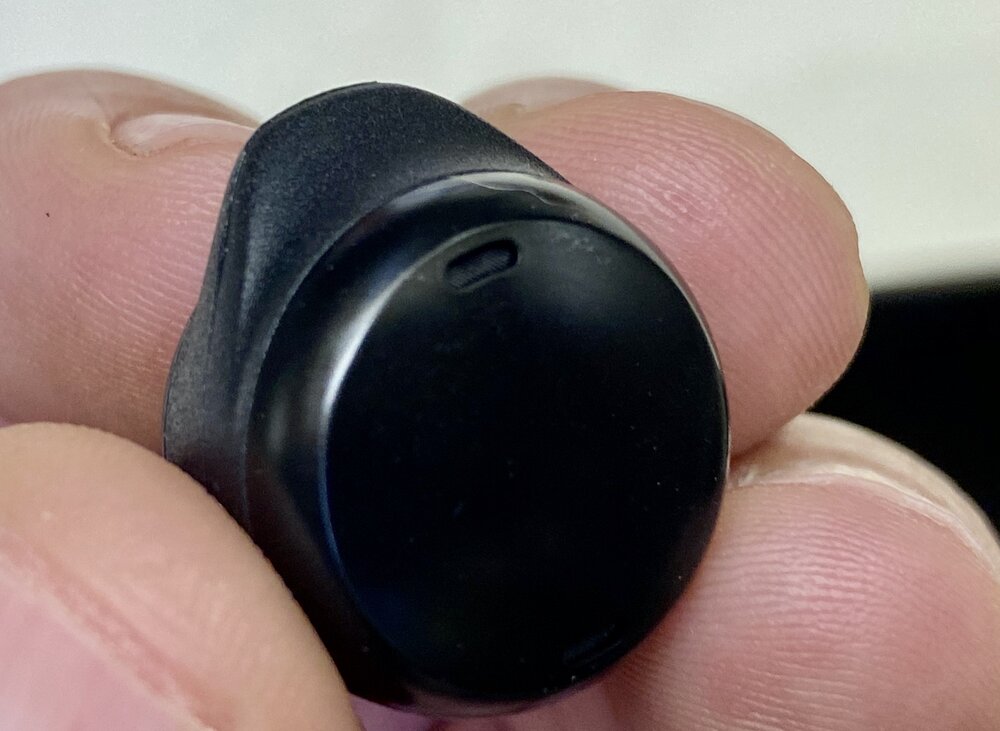
The Olive comes in black or white, and it looks like a single Bluetooth earbud. The exterior of the Olive — opposite of the ear tip — is actually a touch pad that controls features of the device.
What I found most compelling about Olive is the calibration routine. The accompanying free app includes a calibration routine that you need to run to “tune” the device to your hearing. You enter your birth month and year, gender, email address, and whether or not you have experience with hearing aids.
After placing the Olive in one ear, the app plays a series of tones at different volumes and frequencies — much like having an audiogram done by an audiologist. Once one ear is calibrated, you move the device to the other ear and repeat the process.
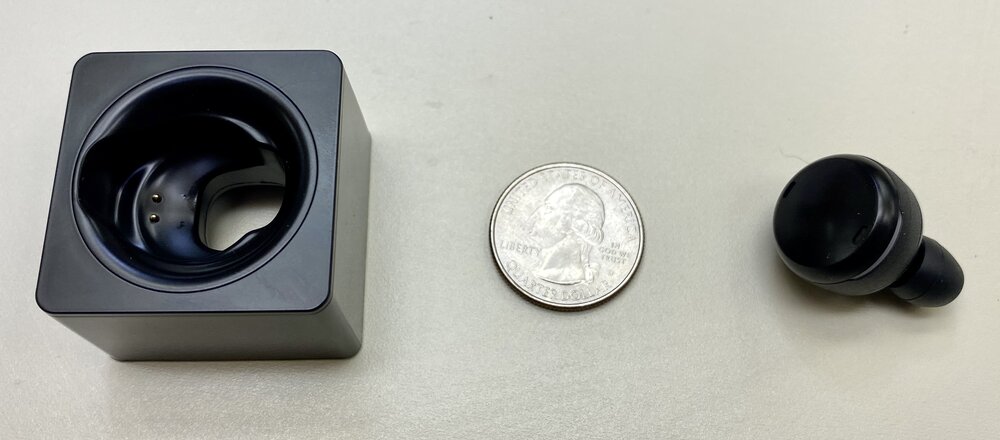
The device includes a variety of ear tips (both silicon and urethane) for comfortable wear, and comes with a small charger as well.
Once the device has been charged and calibrated, it’s ready for use. Of course, like any other Bluetooth device you need to pair it with your smartphone or tablet…or any other Bluetooth transmitter. To power on the Olive, you touch and hold the outside of the device for about two seconds, then hear a voice saying “Power On”.
Pairing is done by touching and holding the outside for about five seconds, after which the device says “Pairing”. Anyone who has paired another Bluetooth device to an iPhone or iPad will find this simple to do. Powering off is also done with a touch and hold, this time for about seven seconds. Decreasing volume is done by tapping once on the Olive, increasing is done with a double-tap.
When a call comes in to your smartphone, you can answer it with a short tap on the Olive. To reject or end a call, the familiar touch-and-hold gesture is done for two seconds.
Much like any other earbud, you can use the Olive to listen to music and answer phone calls (although you’ll need to speak into the phone mic). The big difference is its ability to amplify and clarify ambient sounds so that they are easier to hear. If you don’t like the sound produced by Olive, there is an equalizer that lets you change the volume of each frequency.

Since the appearance of the Apple Health App, it’s been possible to store emergency Medical ID information on your iPhone where it can be viewed by first responders. In the recent iOS 13.5 update, a new feature was added — the ability to send your medical information to first responders during an iPhone Emergency Call. Here’s how to set this up.
1 – Launch the Health App, and then tap your account profile button in the upper right corner (it usually looks like your initials or an image of you).
2 – This takes you to the Health Data page. Under Medical Details, tap Medical ID.

3 – This screen shows a lot of information, all of which is encrypted before storage on your iPhone. Your birthdate, age, whether or not you’re an organ donor, medications, blood type, weight, and height are all listed, along with names and phone numbers of emergency contacts.
4 – Scroll to the bottom of the Medical ID page and you’ll see two settings for Emergency Access. First, there’s one for “Show When Locked”, which allows medical responders to see your Medical ID from the Home Screen by tapping Emergency, then Medical ID.

The other setting is for Share During Emergency Call. To change the setting from Disabled to Enabled, tap the Edit button at the top right corner of the screen, scroll down to Share During Emergency Call, and tap the button to enable the capability.
Here’s what Apple says about this feature:

Be sure to visit Apple World Today for helpful tips every day, or subscribe to our weekly daily tips newsletter using the form in the right sidebar.