
Last week I told you about some of my favorite new macOS Mojave features—the new screenshot keyboard shortcut Command + Shift + 5; Markup tools everywhere; and Continuity Camera. They’re just the tip of the iceberg.
Digging a little deeper, I place Finder Quick Actions at the top of the list. These new items appear at the bottom of the Preview pane in Finder windows when files are selected. So, open a Finder window and enable its Preview pane (View–>Show Preview or Command + Shift + P). Then, click an image file and look at the bottom of the Preview pane, where you’ll find one or more icons for Finder Quick Actions.
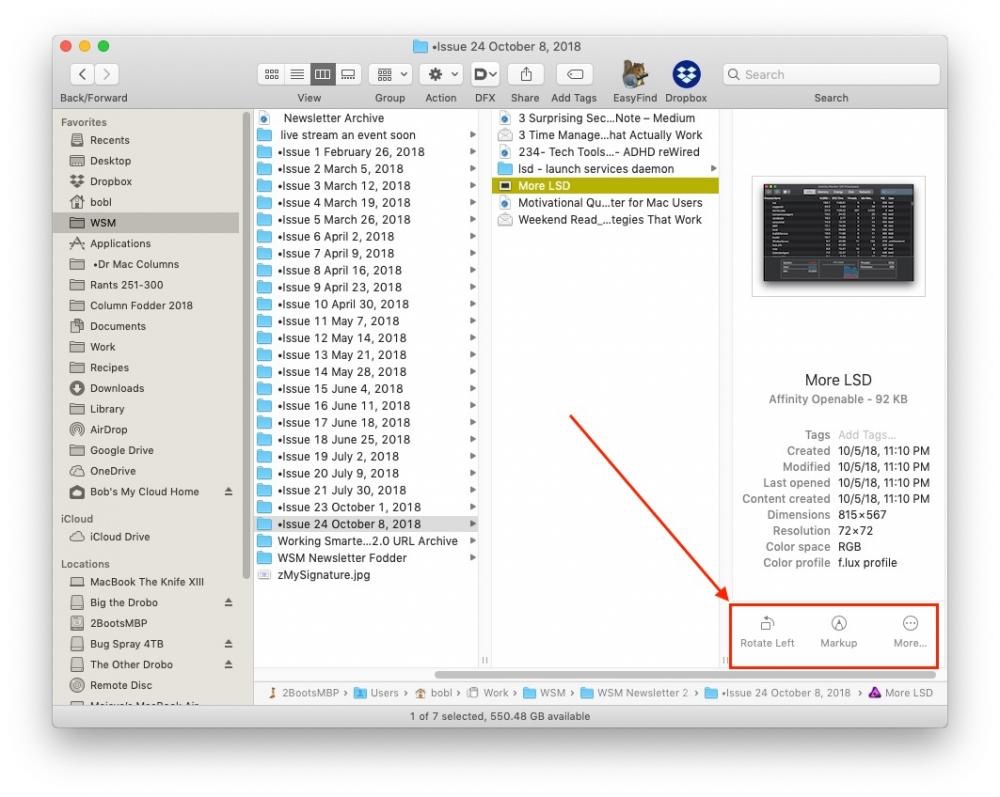
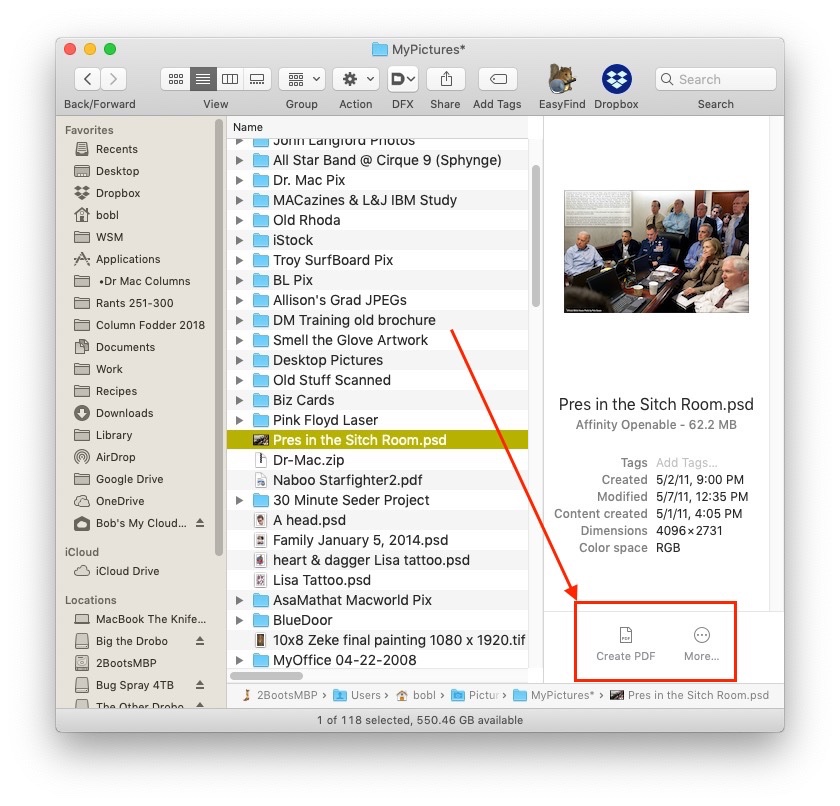
If the selected file is an image (as shown above), those icons include Rotate Left and Markup. And, if the selected image file is a layered Photoshop .psd file, (as shown below), you’ll see the Create PDF icon, which lets you turn it into a PDF file with one click. Sweet!
If you select an audio or video file, in addition to a Rotate Left icon, you’ll also see a Trim Quick Action icon (as shown below), which lets you rotate or trim audio or video files without launching an app. Sweeter!
Finally, you can create your own Quick Actions using Automator. To me, that may be the sweetest part, but I don’t have time to tell you more about it (at least not this week).
This nugget of info is from my “Working Smarter for Mac Users” newsletter. You can sign up for free and get free timesaving tips, and more, every week.


