
Each year on March 31st, World Backup Day is observed. This special day is designed to make you aware of the importance of backing up your data and what can happen if you don’t do so on a regular, ongoing basis. Here’s a video from the World Backup Day team that points out what can happen without a backup plan:
In this post we’ll show you just how easy it is to keep your Mac and iOS devices protected with backups. This post is not officially sanctioned or endorsed by World Backup Day.
Back Up Your iOS Devices With iCloud Backup
iCloud Backup is built into each and every iOS device. It’s fast, simple, and automatic, and if you ever need to restore a new or existing iPhone or iPad with all of your apps and data, you can. Here’s how to set it up:
1 – Launch the iOS Settings app
2 – At the top of Settings you’ll see your name. Tap this to see settings for Apple ID, iCloud, iTunes and the App Store
3 – Tap the iCloud button, which looks like a blue cloud
4 – Scroll down until you see a button for iCloud Backup. Tap it, and make sure that the iCloud Backup button is enabled (green). The screenshot below shows what it should look like:
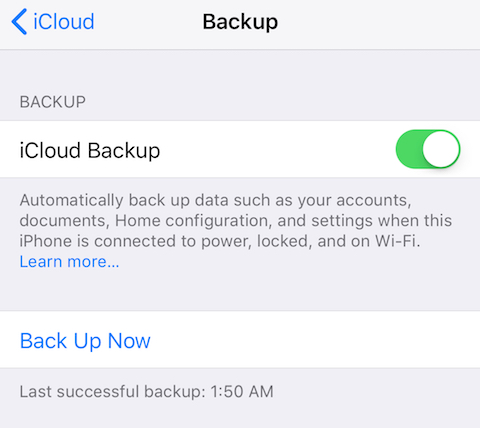
Now when your iPhone or iPad is connected to power, locked, and connected to a Wi-Fi network, it will be automatically backed up to iCloud. Tap “Backup Now” to force a backup, otherwise the backup will occur when your iOS device has been idle for awhile. The time of the last successful backup is always displayed.
Back Up Your Mac with Time Machine
There are a lot of different methods of backing up Macs, but the easiest way is to use the built-in Time Machine app. You’ll need an external storage drive (either a mechanical hard drive or a solid state drive (SSD)), and we’ll make some suggestions of drives that work well for backups. The first three steps in this process revolve around determining the capacity of the drive to buy as well as what kind of drives are available.
1 – What’s the Current and Maximum Storage Capacity of Your Mac?
To determine how big of a backup drive you’ll need, you need to know how big your Mac’s internal drive is. Click the Apple ( )menu, select About This Mac, then click the Storage tab at the top of the window:
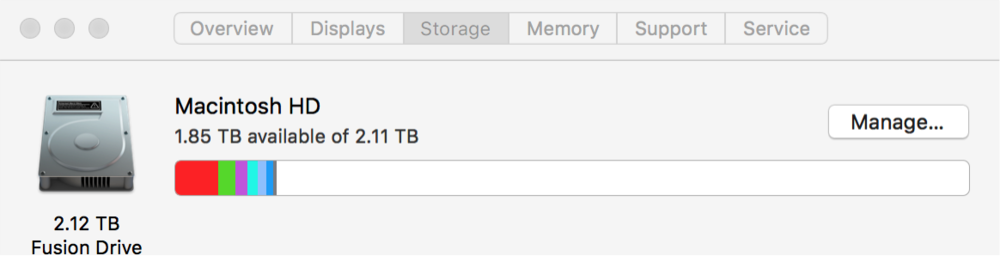
This screenshot shows an iMac with a 2.12TB Fusion Drive installed. It has 1.84TB of available storage — a LOT of room — but over a few years it may gradually fill up with videos, music and photographs.
2 – Multiply Your Mac’s Maximum Storage Capacity by Two, Then Round Up
A rule of thumb for estimating the capacity of a backup drive is to take the maximum storage capacity (in our example, 2.12TB) and multiply by two. Why do you need twice the storage capacity for backups? Time Machine backups grow in size over time, as the app allows you to “look back in time” at what was on your Mac on any given day. That takes a lot of storage!
In this example, the Mac has 2.12TB of storage, and multiplying by two gives us a requirement of 4.24TB of storage. Since drives don’t come in fractional capacities, round up to 5TB. Note that MacBooks have less storage capacity than desktop machines, so the backup drive size will be correspondingly lower.
3 – Get an External Drive With The Capacity You Need
The type of drive you purchase for backups depends a lot on the type of Mac you’re running and your workflow.
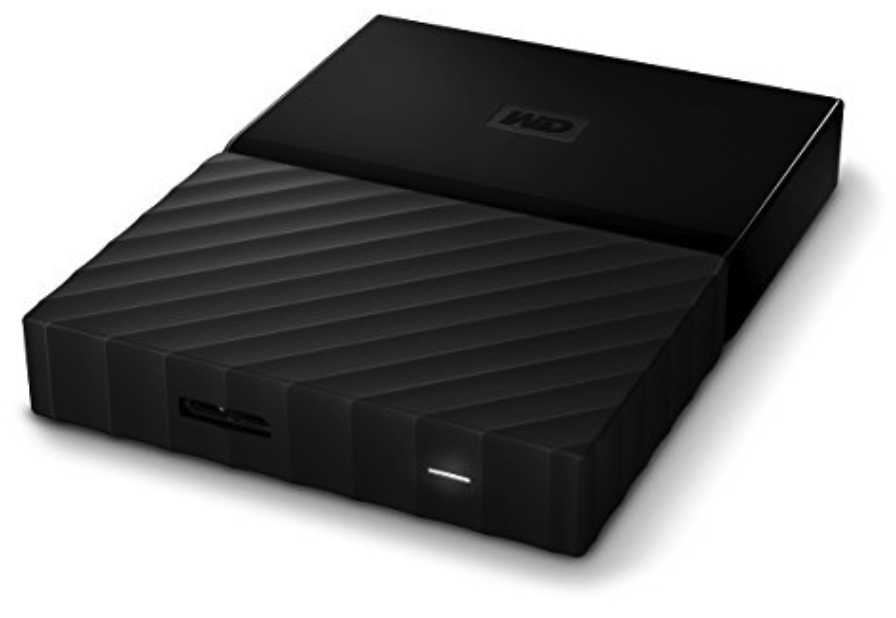
For a MacBook, you’ll probably want a small, lightweight and bus-powered drive that can go anywhere with you and doesn’t require an external power supply. One of my favorites is the Western Digital MyPassport for Mac, available in a 1TB size for only $54.99 (see below, affiliate link). Even the 4TB capacity model is only $107.99!
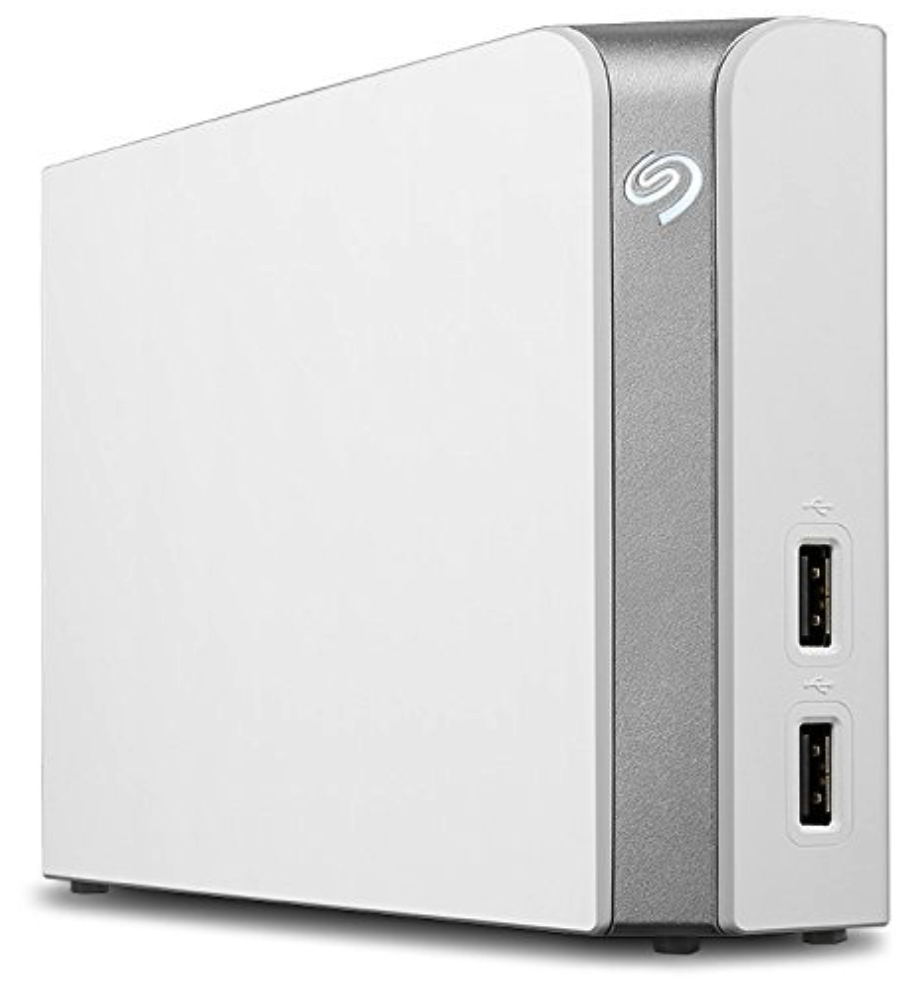
For a desktop computer, you may not need the portability and you probably have a power outlet handy. I like the Seagate Backup Plus Hub, which is available in capacities up to 10TB and serves as both a USB 3.0 hub and a backup drive. An 8TB drive, more than what my example iMac would need, runs only $159.99.
Are you a professional power user? Videographers, photographers, and designers need speedy and large storage to keep their files safe. RAID (redundant array of independent disks) arrays are important in this case. RAID arrays put two or more drives into a single enclosure, and can be configured with redundancy so that if one or more drives fail, the data is still safe until the bad drive(s) can be replaced.
The Drobo 5c (starting at $419.26)is a great example of a RAID array, and unlike most RAID arrays it can be configured with drives of different sizes made by varying manufacturers. This means that you can start with a few small capacity drives, then add or swap bigger drives as your requirements change. The Drobo 5c can be expanded to up to 64TB!
4 – Set Up the External Drive as a Time Machine Backup Drive
The hard work is done — now just unpack the new external drive, plug it into your Mac with the proper cable, and make sure that it has power. Turn it on, and a dialog like this appears on your Mac desktop:
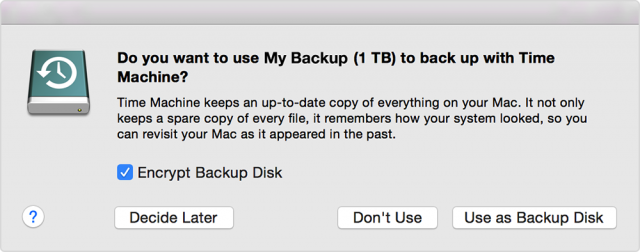
Click the “Use as Backup Disk” button, and Time Machine will count down before starting an initial one-time full backup of your Mac. Once the first backup is complete, Time Machine backs up new documents and changes once each hour. Every day, those changes are condensed into a daily image of your Mac’s contents.
For more control over Time Machine’s schedule, I suggest TimeMachineEditor, a free utility that lets you schedule when Time Machine runs.
Now if your iOS or Mac device experiences a failure or is stolen, you have a copy of all of your data and settings. Don’t be an April Fool, take advantage of World Backup Day and start making backups!