
These days, a good webcam is not just a nice thing to have, but almost a necessity. The webcams in many Macs have underwhelming specifications, leading some Mac owners to go to third-party cameras like those made by Logitech. If you happen to own an DSLR or Mirrorless Camera from Canon, you may be able to use the company’s beta Canon EOS Webcam Utility to turn that camera into a professional quality webcam. Here’s how:
1 – To begin, you’ll need to find out if your Canon camera is supported. At this time, the supported cameras include:
-
EOS-1D X Mark II
-
EOS-1D X Mark III
-
EOS 5D Mark IV
-
EOS 5DS
-
EOS 5DS $
-
EOS 6D Mark II
-
EOS 7D Mark II
-
EOS 77D
-
EOS 80D
-
EOS 90D
-
EOS M6
-
EOS M50
-
EOS M200
-
EOS R
-
EOS RP
-
EOS Rebel SL2
-
EOS Rebel SL 3
-
EOS Rebel T6
-
EOS Rebel T6i
-
EOS Rebel T7
-
EOS Rebel T7i
-
EOS Rebel T100
-
PowerShot G5X Mark II
-
PowerShot G7X Mark III
-
PowerShot SX70 HS
If you don’t find your newer Canon camera on this list, note that this is beta software and more camera models are likely to be added.
2 – Your camera is supported? Great! Now point your web browser to this page and click on the link for your camera model. A page specific to your camera appears, showing available downloads. One of those downloads will be the EOS Webcam Utility beta.

3 – Click the Select button on the right side of the EOS Webcam Utility Beta listing. A dialog appears; click the Download button to download the file to your Mac.
4 – A package file (.pkg) named something like “EOSWebcamUtilityBeta-MAC0.9.0.pkg” is downloaded to your Mac. Double-click the file to launch the installer.
5 – Follow the instructions for installing the utility. Note that after the installation is completed, you will not see an app in your Applications folder. There will be a folder containing an uninstaller. What this utility does is install drivers that allow your USB-connected Canon camera to be recognized as an attached webcam.
6 – Now it’s time to connect your camera to your Mac. Here are some words of advice: if you have the Canon EOS Utility (used to trigger the camera remotely, move photos from the camera, etc…) installed, make sure it’s not running before you connect your camera. If that utility launches itself, quit it. Also remove the SD card from your camera before beginning and turn off the power save feature of the camera so it doesn’t shut down while you’re streaming.
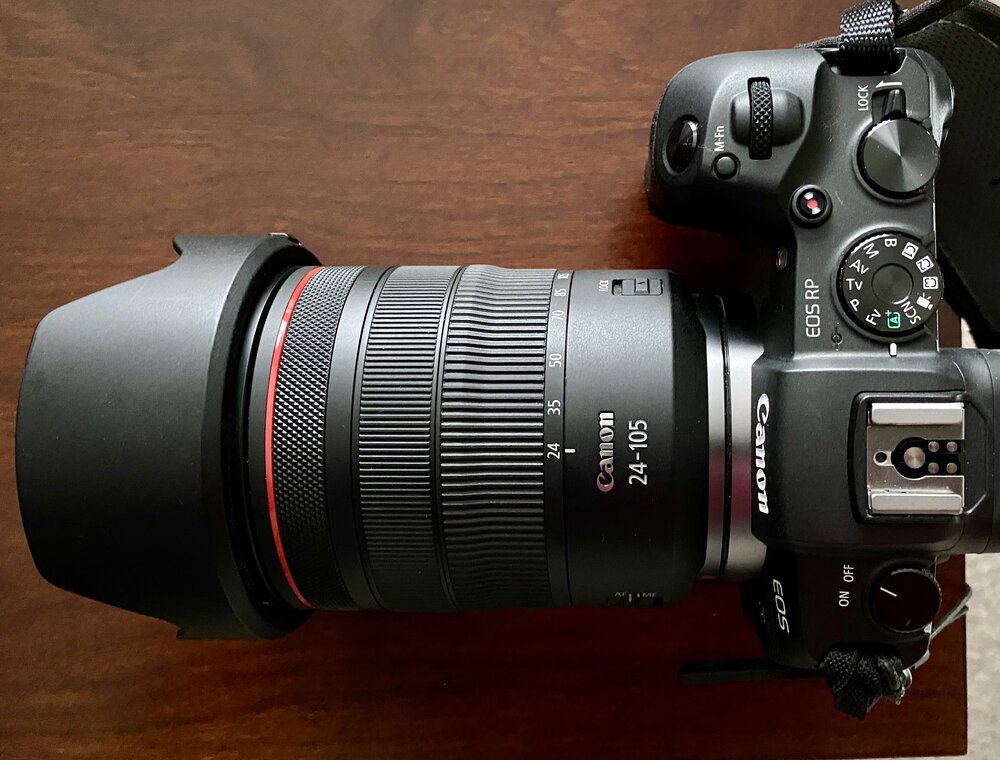
For my camera (EOS RP) the connection was made with a USB-C to USB-C cable. Note that a USB-C data cable is required; some cables are designed to supply power only and will not transmit data properly.
7 – The EOS Webcam Utility shows up as a camera source in certain apps…but not in the Zoom or Skype apps. I found that if I created a Zoom session in Google’s Chrome browser, I was able to use the EOS Webcam utility as a source with no issues. The free Open Broadcaster Software (OBS) app for Mac immediately grabbed the camera as a high quality video source.
Note that there are some apps that have built-in USB connectivity to Canon and other cameras; these apps may not be able to work with the Canon EOS Webcam Utility.


