
You can use the Disk Utility in macOS High Sierra to delete a disk set that’s no longer needed. When you delete a set, the data recorded on the disks isn’t deleted. For example, deleting a mirrored RAID set leaves each disk in the set with a copy of all the RAID data.
When you delete a concatenated set, all the data is copied to the first disk of the set (as long as the first disk has enough disk space to store the data), providing a single volume with all the data. Before deleting anything, back up any important files. Then:
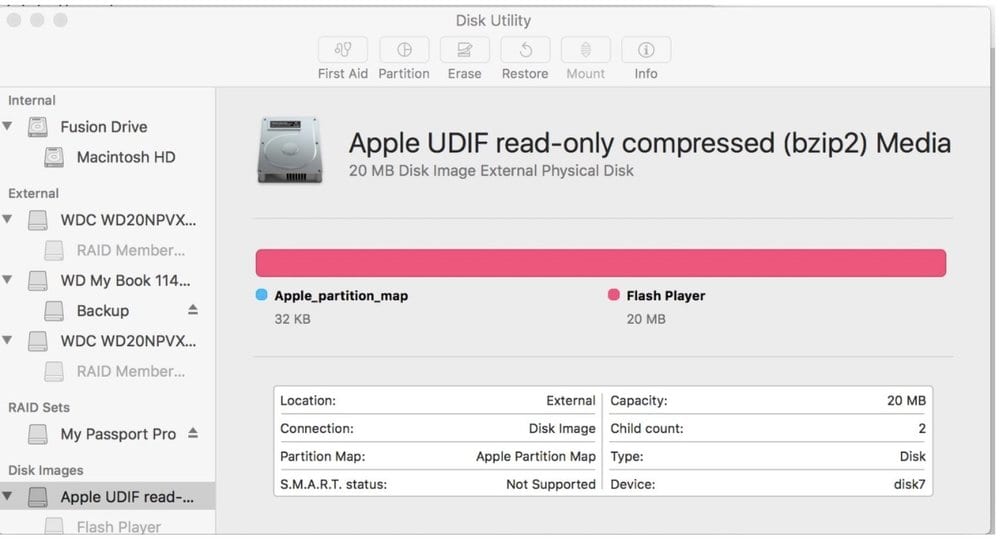
• In Disk Utility, select a disk set that you want to delete in the sidebar.
• Click the Delete RAID button.
• Click Delete.
• To erase all the disks in a disk set:
• Back up any important files.
• In Disk Utility, select a disk set that you want to erase in the sidebar.
• Click the Erase button in the toolbar.
Remove a disk from a disk set permanently
You can remove individual members of a mirrored RAID set or concatenated disk set. You can’t remove individual members of a striped disk set without first erasing the entire set. You can only remove the last member of a concatenated disk set.
• Back up any important files.
• In Disk Utility, select a disk set in the sidebar.
• Select the member disk that you want to delete from the set.
• Click the Remove button .
• Click Remove.
(This how-to is based on my experiences and info on Apple’s support pages where the images sometimes come from.)