

One of the worst feelings any Mac user can have is realizing that an important document or photo is lost. The only thing worse? Knowing that it’s not just that one file — it’s many of them. Today we’re looking at iMyFone AnyRecover, a powerful data recovery tool for Mac that retrieves lost or deleted files quickly and easily.
Try It For Free
In a panic right now because you’ve lost documents, photos or videos that are irreplaceable? Calm down, take a deep breath, and click this link to download a free trial of AnyRecover.
Installing AnyRecover is easy. Once the installer has been downloaded to your Mac, open the Downloads folder and double-click the Data-Recover-For-Mac-2.dmg disk image file. As soon as the installer launches, just drag the iMyFone AnyRecover icon to the Applications folder icon, and the app is installed and ready to try.

The free trial won’t recover all of your data, but it will let you know if it can be recovered. Apple World Today has worked with iMyFone to offer you special pricing on a license of AnyRecover Mac — $19.95 for a one-month license, $29.95 for a one-year license, and $39.95 for a lifetime license.
What Kind of Data Loss Situations Does AnyRecover Resolve?
It doesn’t matter how you lost your Mac data, AnyRecover Mac can handle it and bring your precious files back. It works in all of the following situations, and more:
Accidental Deletion – A very common way to lose files, this happens when you drag files or folders to the Trash, or use the Command (⌘) – Delete keyboard shortcut to send them to the Trash. If you happen to delete the trash, those files are gone for good…unless you have a backup or have AnyRecover Mac available. The app lets you undo Empty Trash on the Mac – how’s that for magic?
Lost Partition – Sometimes we Mac users can go a little crazy with Disk Utility and delete partitions. Even worse, sometimes you can accidentally hide a partition or Disk Utility doesn’t format the partition correctly. Don’t worry — AnyRecover Mac recovers those partitions.
Inadvertent Drive Formatting – Another common mistake is to accidentally reformat and erase a drive. Maybe it’s a USB flash drive or SD card, or perhaps it’s an external data drive. Regardless of the reason, AnyRecover Mac is on the job and can recover your data.
System Crash – While macOS is much more stable than it was in the past, you can still run into situations where a reinstallation or system update can cause the file system to get corrupted. When this happens, you’ll feel safe knowing that AnyRecover can handle the job of getting your data back.
Malware Attack – macOS may be the most malware-free operating system around, but new malware can bypass malware protection and delete files. AnyRecover can get those files back.
Hardware Issues – Have a hard drive that failed, corrupting your data in the process? Perhaps you’ve seen issues with storage cards that display the dreaded “access denied” or “cannot be read” error message? AnyRecover works through these issues to bring back your data

What Kind of Drives Does AnyRecover Work With?
It doesn’t matter what kind of storage is installed in or attached to your Mac — AnyRecover can work with it to recover files. Any type of Mac hard disk or SSD, virtual disk, USB drive or external drive is supported. Use memory cards to transfer data from other devices like camcorders or digital cameras? AnyRecover works with SD, microSD, and CFXDMMC cards.
What File Types Are Supported?
Pretty much any file type used on the Mac or external devices can be recovered by AnyRecover.

A Real-Life Example Using AnyRecover Mac
What better way to show you how AnyRecover Mac works than to use a real-life example! With AnyRecover Mac installed on my iMac, I launched the app and was greeted by this screen:
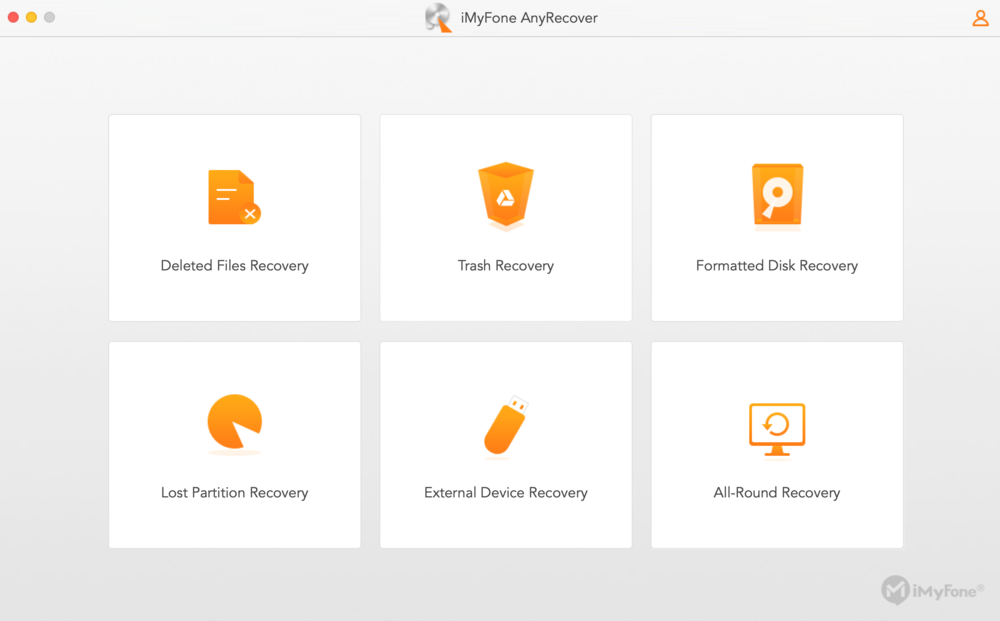
I decided to look for all files deleted on this 4-year-old iMac at some point in time, so I clicked the “Deleted Files Recovery” button. Next, it was time to select the drive on which I wanted to perform a scan. AnyRecover Mac chose the Macintosh HD – Data APFS partition by default.
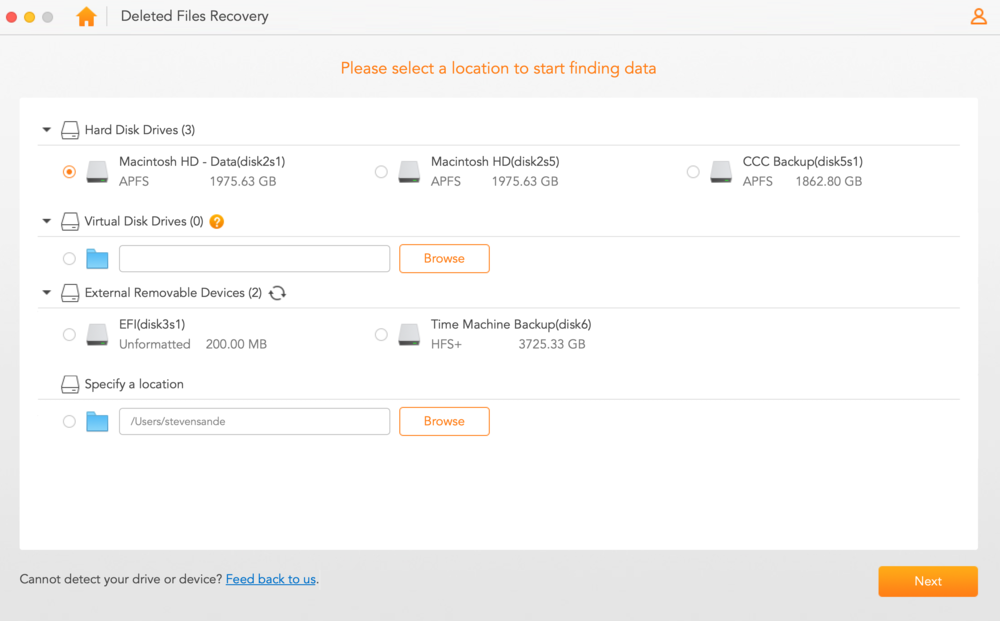
With a click on the Next button, I was ready to let AnyRecover know what kind of files I wanted to find. I kept All File Types selected to provide the best chance of recovering all files.
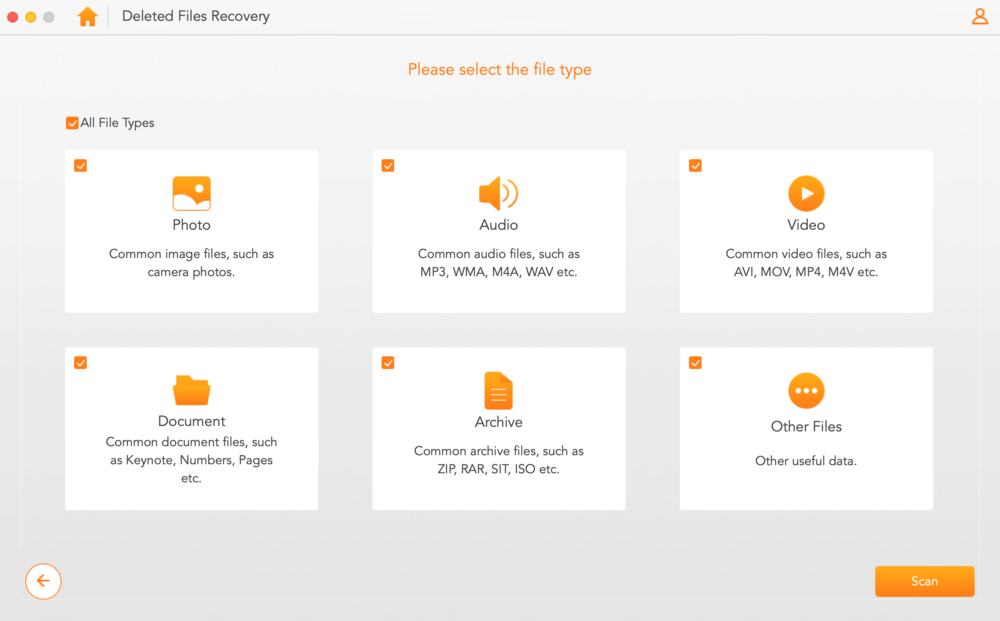
With a click on the Scan button, AnyRecover went to work, and soon the scan was complete:

From the list of deleted files, all I needed to do was select a particular file, then click Recover.
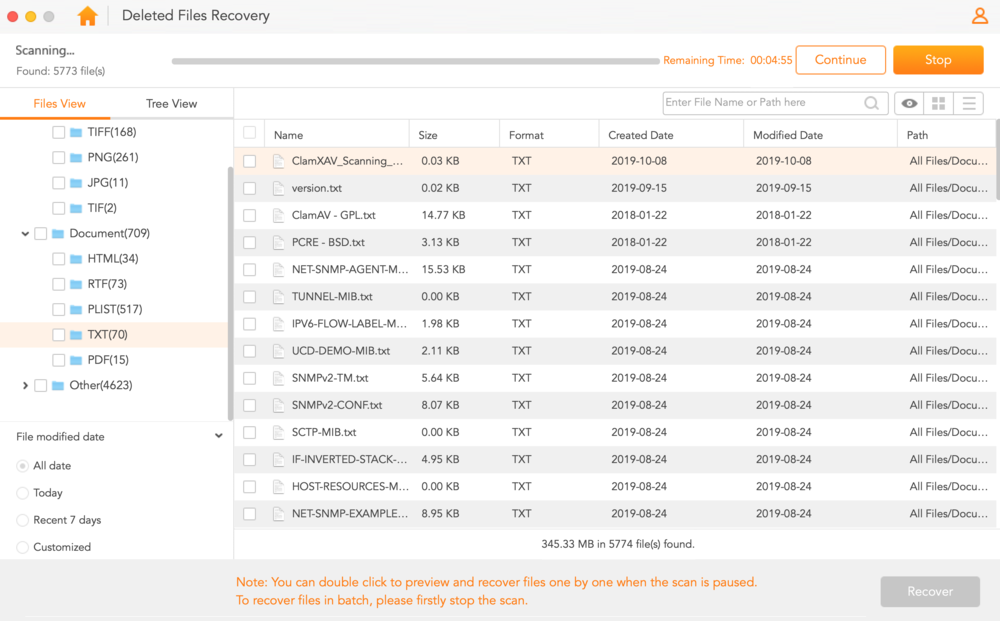
The process can take some time if you’re trying to recover a complete partition or volume, but in this case AnyRecover was able to find and recover the files in less than five minutes.
In Conclusion
Don’t get into a panic if you accidentally delete files, or if a hardware or software issue causes files to be lost. Start by downloading a free trial of AnyRecover Mac to recover up to three files. See how it works, then take advantage of our special pricing deals, including a $19.95 one-month license that can find and recover those lost files.