Perhaps you’ve received a payment from a friend for a shared lunch, or maybe you sold someone your old bike and they paid through Apple Cash. You don’t want that Apple Cash balance to just continue growing, do you? Put it to use by moving it to a bank — here’s how!
1 – On your iPhone or iPad, open Apple Wallet.
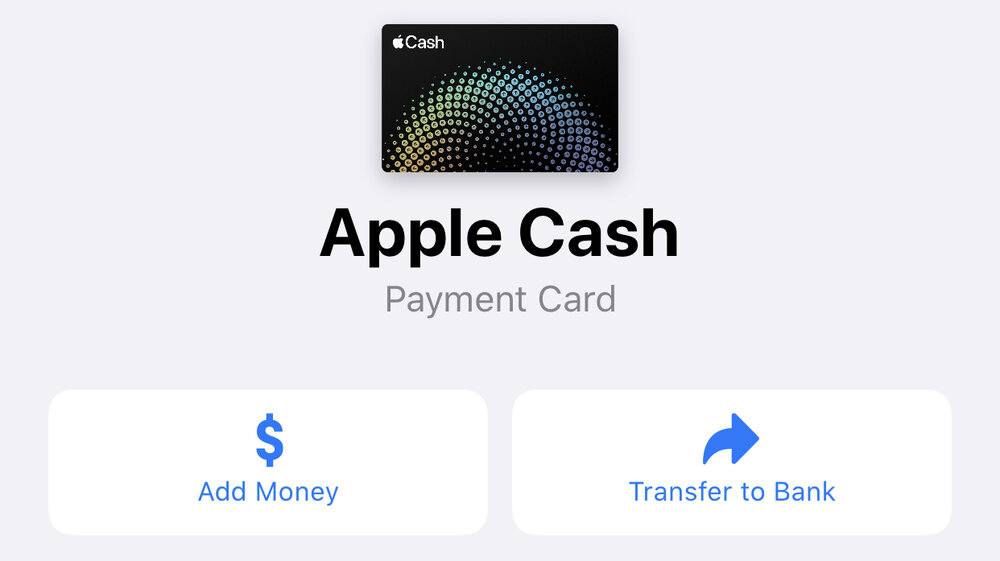
2 – Find and tap on the Apple Cash card (see image at the top of this page), then tap the … button in the upper left of the transaction page that appears. This opens a details page for Apple Cash:

3 – Tap the Transfer to Bank button (at right in image above)
4 – If you’ve already connected the card to a bank account, the next thing you’ll need to do is enter the amount you wish to transfer to the bank. If you haven’t connected to a bank account, a screen appears on which you need to enter the 9-digit routing number and 4- to 17-digit account number. You can find this information on the bottom of checks, and most banks will also supply you with the routing and correct account number with a phone call.
You’ll need to confirm those numbers by entering them a second time. Once you’ve entered the bank account information, it is encrypted and stored until you delete it.
5 – Once the amount to be transferred has been entered, tap Next, then select either Instant Transfer (which carries a $0.25 service charge) or 1-3 Business Days (which carries no service charge).
6 – Tap Transfer. If you selected Instant Transfer, the money appears in your bank account within 30 minutes.
Note that you can also add to an Apple Cash balance by taking funds from your bank account using the Add Money button at left in the image above! This is useful if you want to make an Apple Pay or Apple Cash payment — think of it as putting money into your wallet.
