I’ve lived in the same house for almost 36 years, and have had a traditional wired security system protecting the place during that entire time. The cost of the system monitoring via ADT is close to $720 a year, and the company’s customer service keeps getting worse each year. In this review, I’m taking a look at the abode iota HomeKit-compatible security system as a possible and lower-cost solution to home security.
Hardware
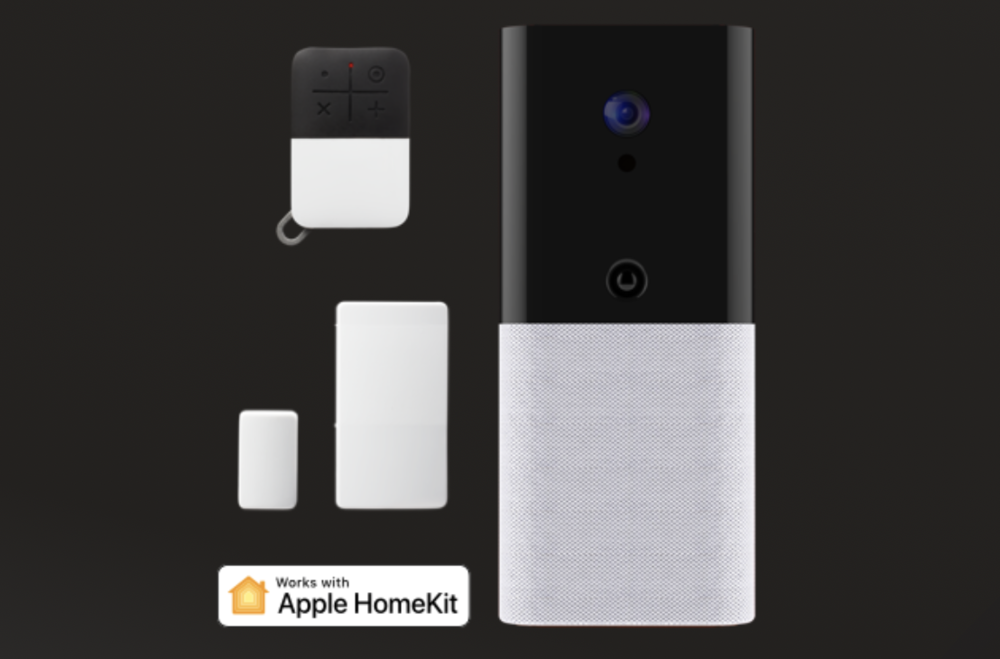
The iota security system Basic kit ($219) is pretty minimalist, consisting of one abode iota hub, one door/window detector, and a key fob for arming or disarming the system. The reason I say minimalist is that our current system consists of 10 door/window detector switches, three wall keypads, and a central wired hub with a VERY loud siren. The system is also hard-wired into our fire and smoke detectors.
To get a system similar to what I currently have, I’d need to add a number of switches, some additional smoke detectors and keypads, and so on. That cost would be about $560; not unreasonable considering the cost of similar equipment from our current provider.
I’d also want the system to be monitored by someone, so that break-ins or fires while we’re out of the house are immediately reported. That cost — what abode refers to as the Secure Plan — is $200 per year. In other words, with what I’d save in one year over ADT’s outdated system and monitoring, I could almost pay for the additional hardware required.

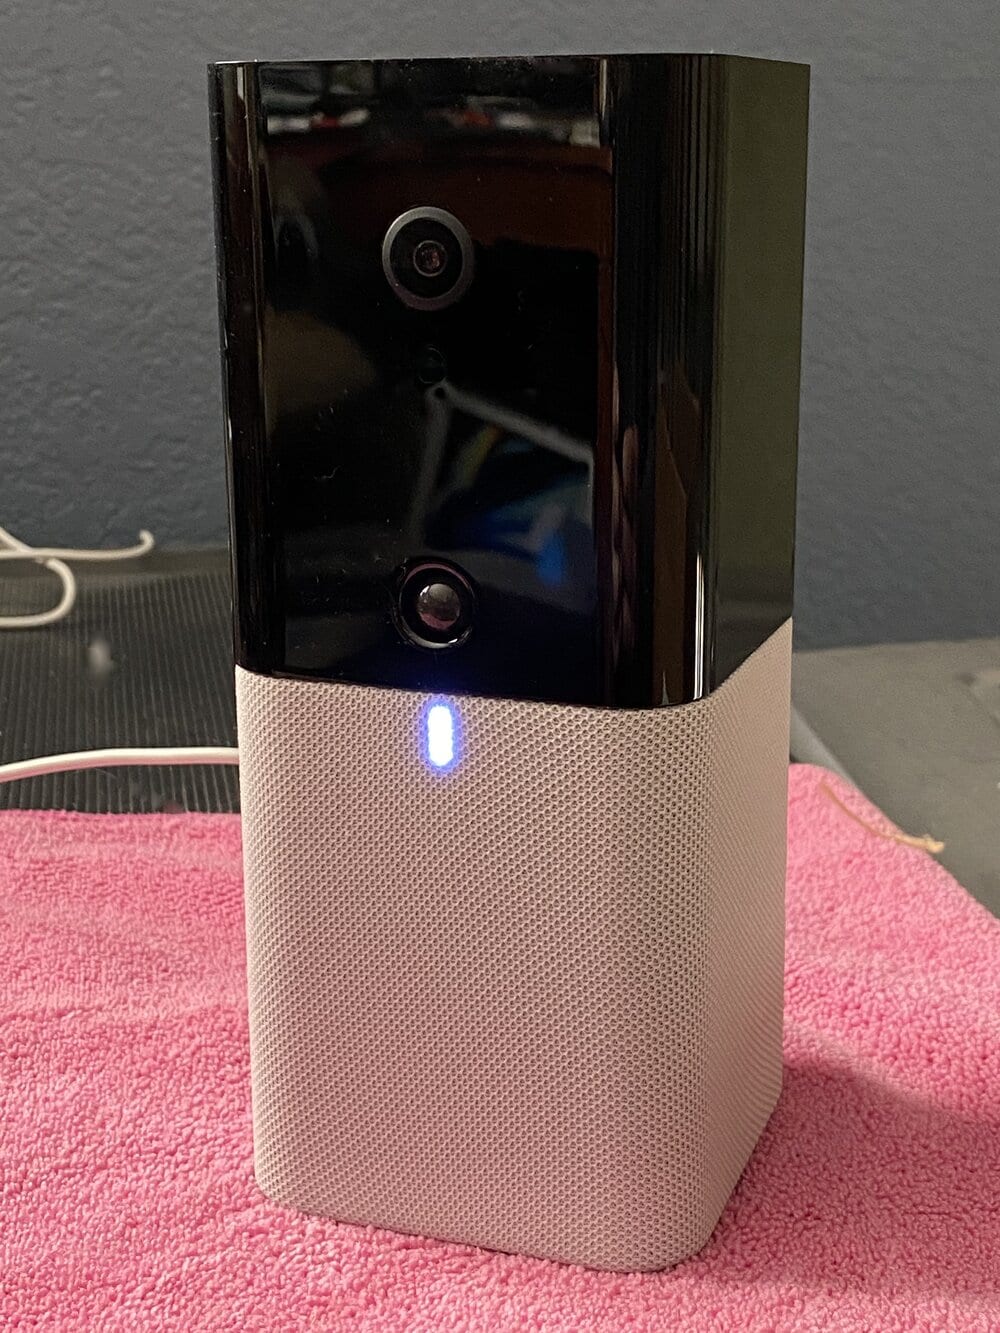
Let’s look at the abode iota hub (photo at right), since it’s the most important piece of the entire setup. It’s 3 inches (7.62 cm) on a side, and 7 inches (17.78 cm) tall. There’s a LOT to that hub. Inside is a battery backup, a high resolution (1080p color) camera for video and photo monitoring, a cellular backup (connects to T-mobile or AT&T network, whichever is better at your location), a 93db siren, speakers and a microphone to talk to people in the home, an infrared light for night vision, a motion detector, and the smarts to talk with up to 160 other devices.
Iota supports current standards for home automation, including Z-Wave, Z-Wave+, Zigbee, and IFTTT. One of the biggest selling points for Apple users is its compatibility with Apple HomeKit. You can use Siri to arm or disarm the system, and of course control the other HomeKit devices in your home.
Software
The software consists of both a web portal and an iOS app. I found both to be extremely useful, and the iOS app is great for not only keeping tabs on notifications (like a door being opened or motion being detected), but for setting up automations.
The abode app provides access to the status of all devices, and you can view video or photos that have either been captured due to an automation or watch live video from the camera. If you have more than one camera on a system, it’s possible to look at the output from all of them.
Adding a device to the app is as simple as tapping on the settings button, then tapping Add Device. That displays a list of the different hardware items that can be added to the system, like door and window sensors, motion sensors, cameras, access control sensors, sirens, and so on. For instance, adding a keypad to enter a code for entering or leaving the home, I’d just select the keypad, press a special code on the keypad until it beeps, then follow instructions to finalize the connection to the device.
To add a lower-resolution (720p) camera for another location in the house, I’d type in an activation key that comes with the camera, which would link it to the app.
Adding third-party devices (like those Z-Wave Plus and Zigbee items described earlier), I need to make sure that the devices are discoverable, then let the hub pair with them.
The app includes a location assistant, useful in setting up geofencing. For example, I can set up an automation that disarms the system when if knows that my iPhone is within a certain distance of my home.
