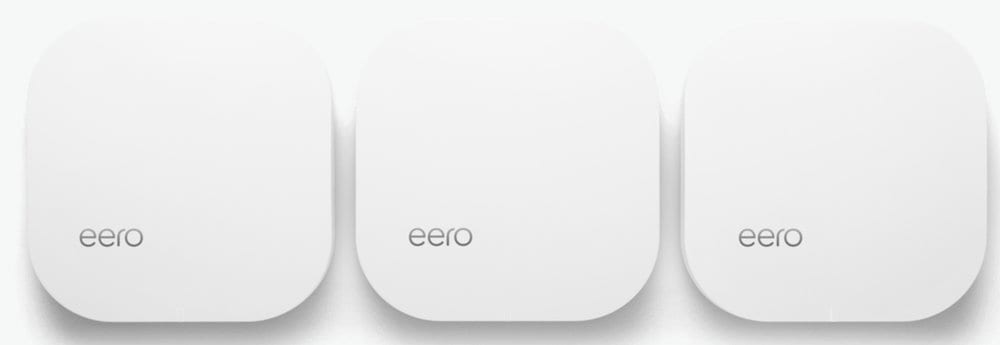
With Apple reportedly discontinuing its line of wireless routers, here at Apple World Today, we’ve been testing potential replacements. One that stands out is the eero home Wi-Fi system, which is handsome, easy-to-use, pricey — and with some (self-imposed) limitations. In other words, it’s a product Apple could’ve/should’ve made.

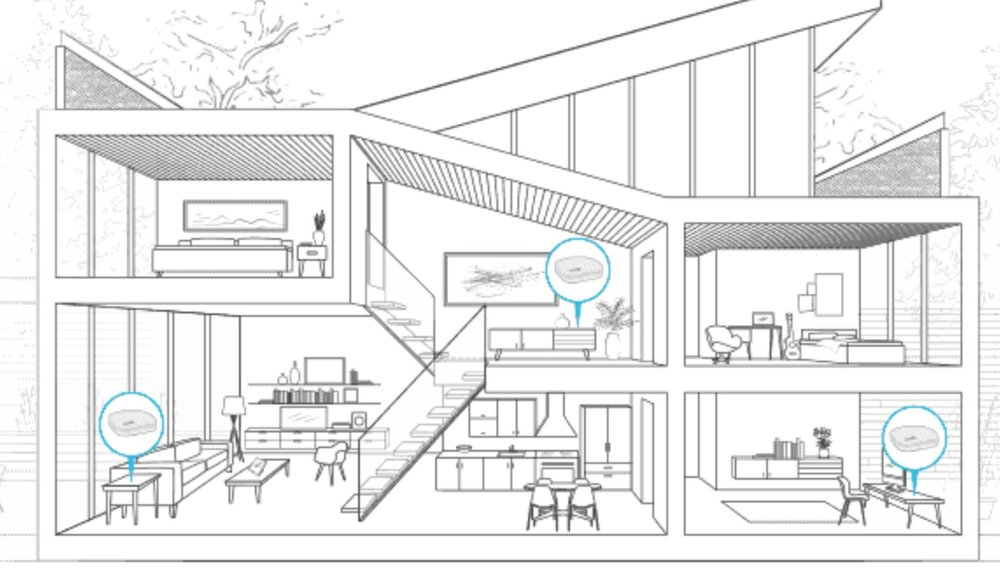
The eero works fine as a single 802.11ac router, but is designed to be used as a mesh network. Traditional networks rely on a small number of wired access points or wireless hotspots to connect users. In a wireless mesh network, the network connection is spread out among multiple wireless mesh nodes that “talk” to each other to share the network connection across a large area.
This means that, though there are more powerful routers, the eero’s speed doesn’t degrade in the same way that it would with a Wi-Fi extender. I have three eeros installed in our house: the main one in my home office, a second in the living room, and a third in the master bedroom. Throughput drops about 10-15% with each additional router, that’s pretty good as compared to about a 50% drop when adding each typical range extender (according to Consumer Reports).
The eero is as easy to set-up as any software Apple has developed. First, you download the eero app to your iPhone or iPad from the Apple App Store. Plug one eero directly into your existing cable or DSL modem, and the app walks you through the set-up process, prompting you to create a network name and password.
Once that’s done, you can connect more eeros to power outlets, and use the app to name ‘em, then add ‘em to your network (which is protected by WPA2 encryption). I downloaded the app, installed three eeros, and created a Wi-Fi network, all in under 15 minutes. Ideally, the units should be within 40 feet of each other. The fewer obstacles between them, the better; however, separation by a wall or floor proved no problem at my house.
You can add as many eeros as you need to cover your home. If you have Ethernet wiring, you can hardwire some or all ‘em. Supposedly, the eero will intelligently determine whether to send data over Ethernet or through the air. However, I don’t have Ethernet wiring, so I can’t attest to how well this works.

Each eero box is about five inches square and just over an inch high. With their white plastic design, they’re very “Apple-ish.” On the back there are two Gigabit Ethernet ports, a USB port and power port. The Ethernet is for, as mentioned, hardwiring a connection, as well as attaching a network device like a hard drive for sharing files or backups. That’s handy as you you can still use the Time Machine utility in macOS.
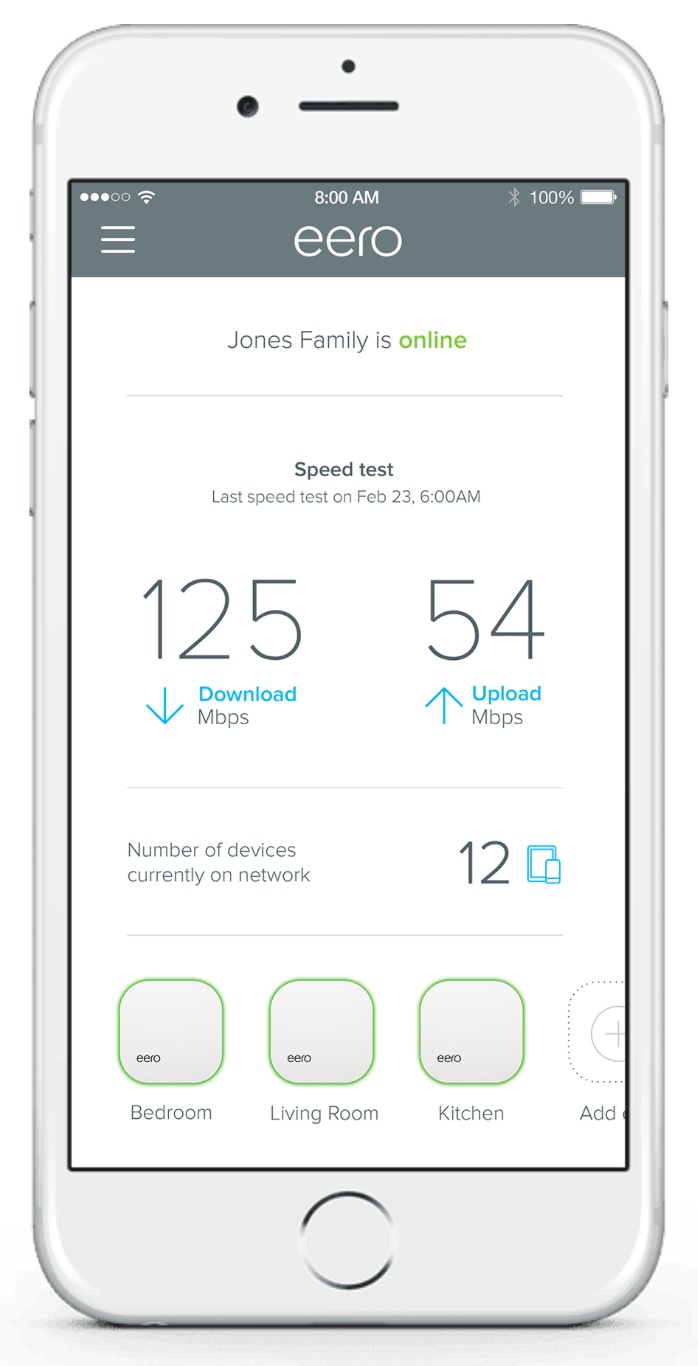
You use the eero app to manage your network. With it you can see how many devices are connected and — a feature I really like — check out the Internet speed you’re getting from your ISP. After setting up my system, I tested my network’s speed. In general, the eero network maintained speeds of about 84 Mbps download and 12Mbps upload with three to nine devices connected at any one time.
That’s not as good as I had hoped — 100 Mbps download is what is considered “excellent” by the makers of the eero. Still, 84 Mbps is plenty of bandwidth; after all, streaming the highest-quality 4K HD video only requires a 25 Mbps connection.
The eero app will automatically run a speed test once per day. You can check the latest speed test results in your app dashboard. You can also initiate a speed test from the app at any time – just pull down on the dashboard to refresh. You’ll see the word “Running” in pulsing blue while your speed test is being conducted. A speed test takes about one minute to complete. When it’s done, the results will be displayed on your dashboard.
The eero ecosystem also updates automatically, which is very convenient. You’ll receive a notification when an update is available. Give the upgrade a green light, and your network will be unavailable for about 15 minutes during the updating process.
The eero app even allows you to invite others to join your network. You can do this by simply sending a token to others via text message, so they don’t have to type a password. You can even create a separate guest network.
Another great feature: should you run into a problem, there’s no unplugging/reconnecting individual eeros. Your system can automatically reboot multiple nodes to fix a problem.
With the eero app, you can configure advanced settings like DHCP, NAT, DNS, UPnP, Port Forwarding, and flux capacitation. However, some folks may want more control than what the eero offers. There’s no way to denote separate 2.4GHz and 5GHz networks, no parental controls, and no QoS priority settings.

Other folks may find the eero system simply not powerful enough. If you need to, for instance, tackle jobs that use a lot of bandwidth (like backing up your computers to a local server or sharing a large amount of data), it may lack the oomph you need. On the other hand, if extending your Internet access is all you’re looking to do, the eero is great at the task.
Another thing that can be a pain: the eero system relies on an Internet connection to access its settings. If your home Internet is down, you might not be able to access the settings in the app. If you reset the eero when it doesn’t have an Internet connection, you’ll lose your Wi-Fi signal, too—it requires an Internet connection to create a network.
However, the deal breaker for some will be the price. The price is $199 for a single eero unit and $499 for a set of three. And if you’re going to use a wireless mesh network product, it only makes sense to have multiple nodes.
If you can afford it and don’t mind the feature limitations mentioned, the eero system makes it a breeze to create and manage a seamless Wi-Fi network that covers a large area with reliable Internet access.
I love my eero set-up. We now have fast and reliable Wi-Fi all over the house.
However, I also tested another mesh network solution: the AmpliFi HD. Check back tomorrow to see how it stacks up against the eero.

